My love for Sawyer's Pheasant tail nymph has been lengthy, I have used this fly for years now. My romance with the Killer bug is much more recent, this year in fact. I have in the past fished with this pattern; they were tied with Veniards 477 sub which is a perfectly acceptable. My results were relatively poor with very few fish succumbing to it. It became one of those back of the fly box, forgotten, only to surface when all else fails; a last-ditch effort. But unsurprisingly as I never gave it a chance, it rarely produced the goods. With my return to fly fishing and fly tying this year it was placed on my to do list; not sure why given its poor record with me, but I felt it had a place in the fly box.
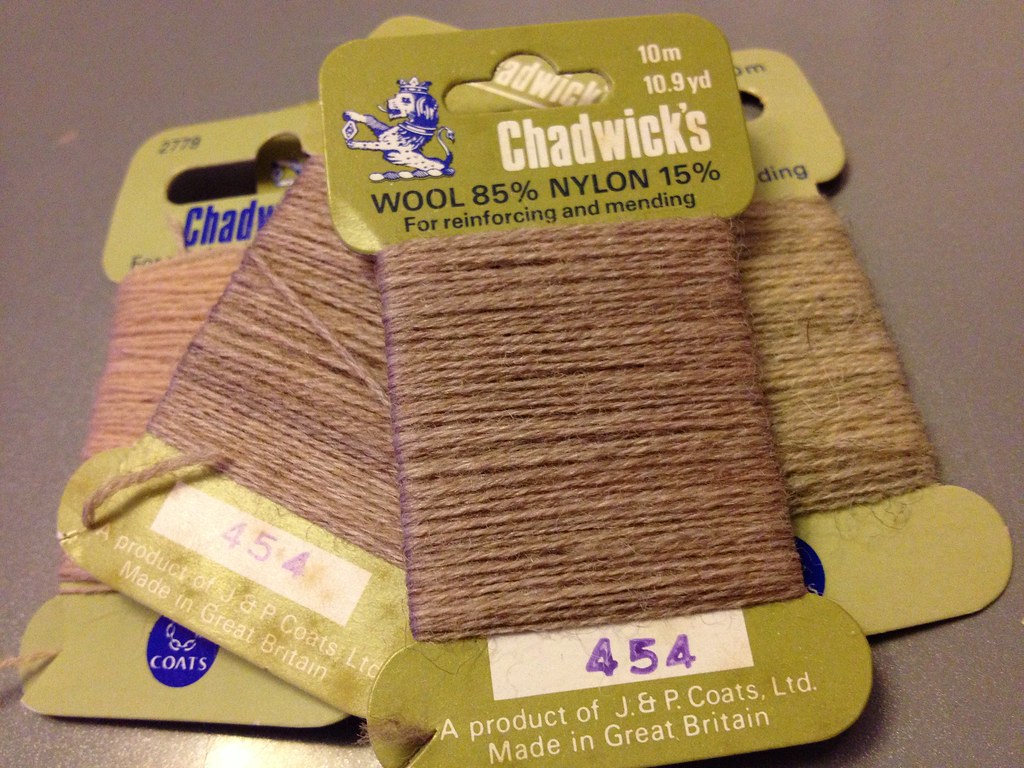 |
| Chadwicks 454 |
With my obvious desire to tie flies in their original form I set about looking for some Chadwicks 477. For those that have ever looked at buying some original 477 yarn you'll know it's not cheap; I've seen cards go from £50-£90 each and recently a metre sold for £28.77 on eBay. As much as I want to tie traditional flies as closely as possible there is no way I'm spending that. I had to find an alternative.
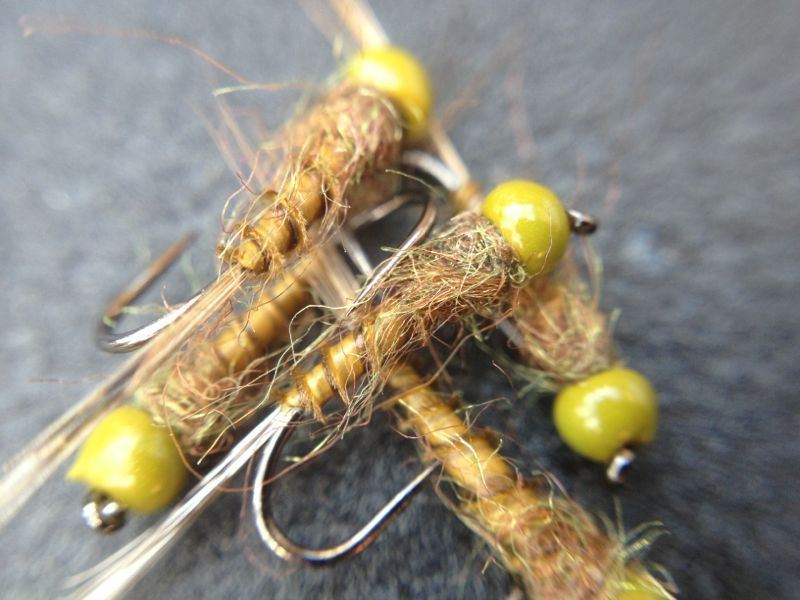
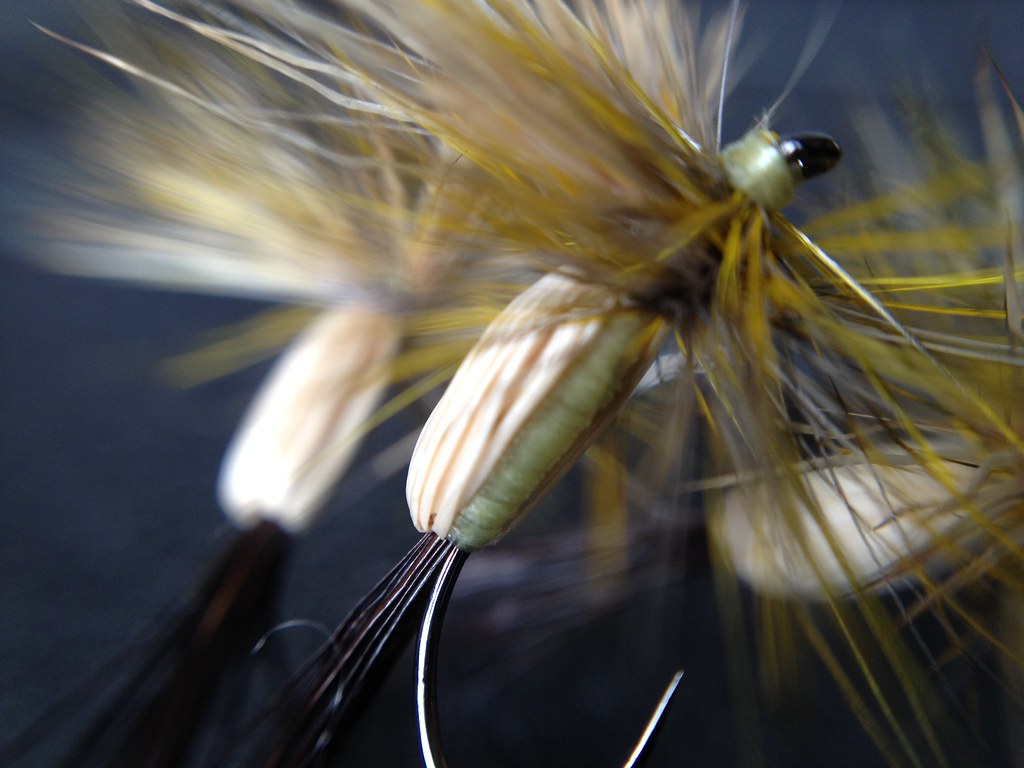
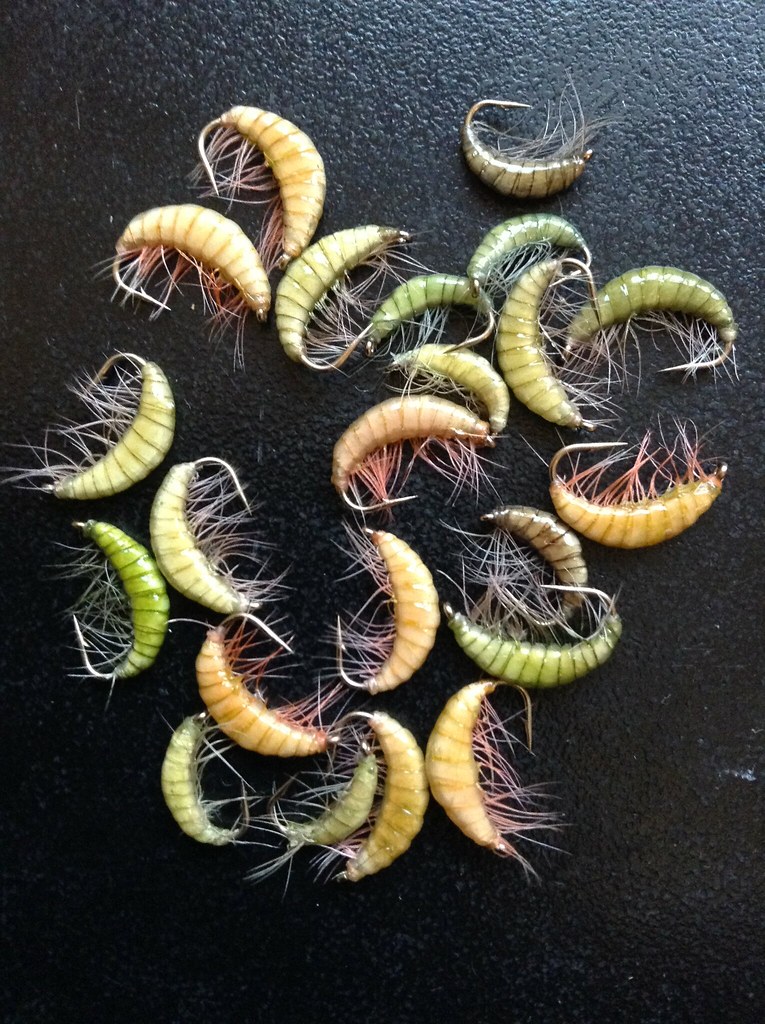
Along with the Killer bug in its original form I also wanted to tie some in a cream coloured wool with a gold wire under body to imitate the humble maggot. This fly would solely be for coarse fish and a look in a local haberdashery found some Chadwicks wool in beige.
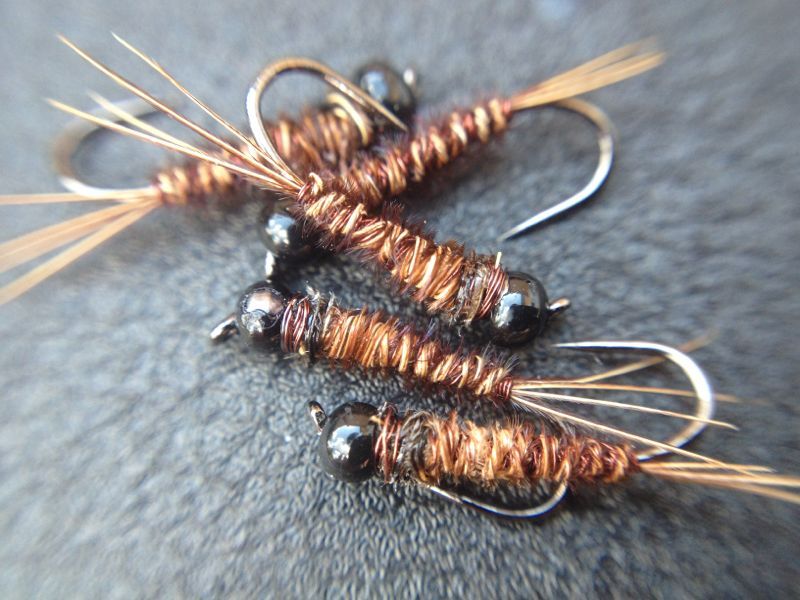
I found in the past that the Veniards sub is quite thick and it was easy to create a fly that ends up far too bulky. The beige wool was quite slim in comparison, I though that perhaps there were other colours made by Chadwicks that are close to the original 477. I stumbled across a Chadwicks wool in colour 454; I had read whilst researching that it was a good substitute, at 90p for a card it was well worth a punt, in fact I bought three. In my hands the colour looks close enough, and as everyone argues that the fish don't know the difference it would certainly do.
 |
| Chadwicks 454 |
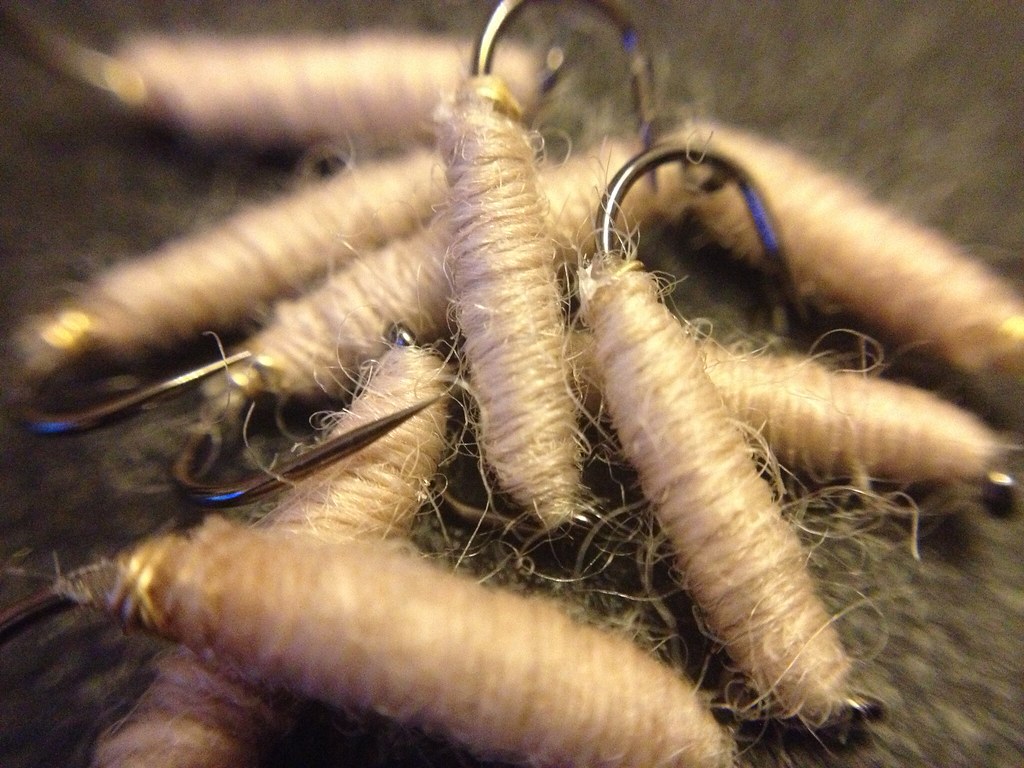 |
| Beige Chadwicks wool |
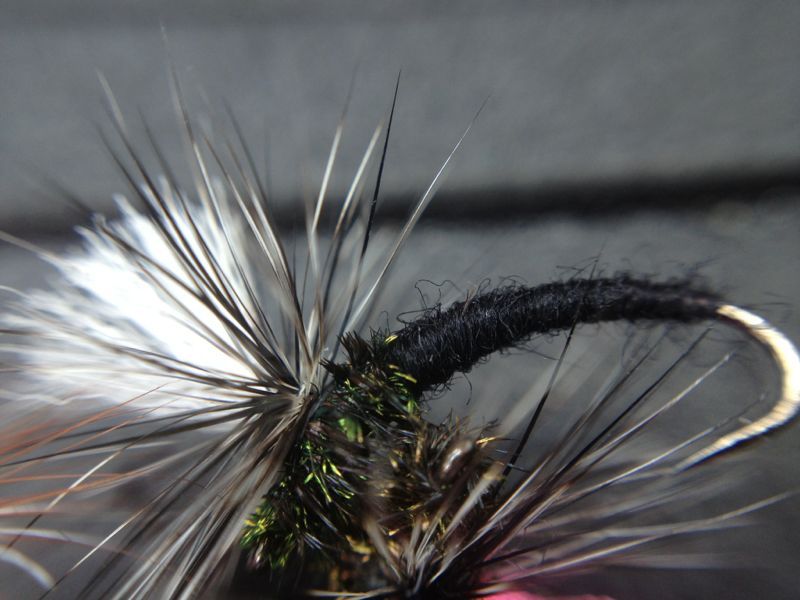
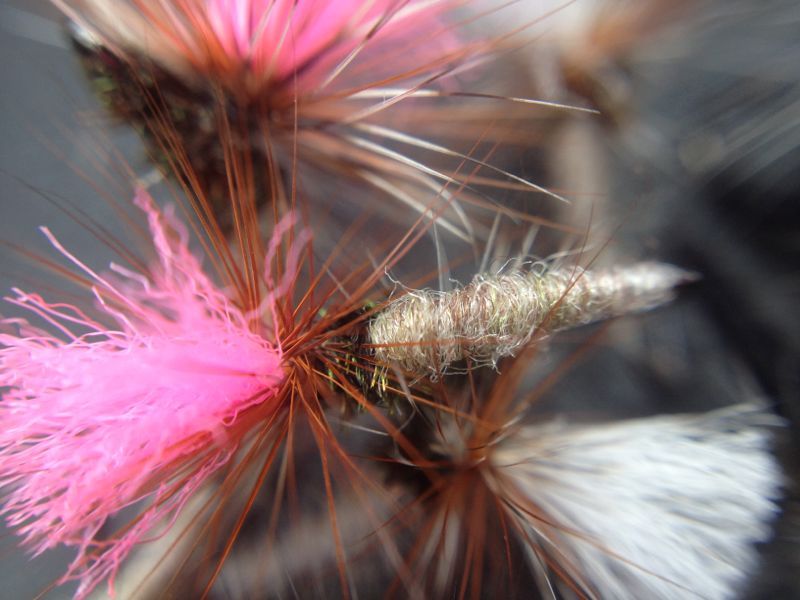
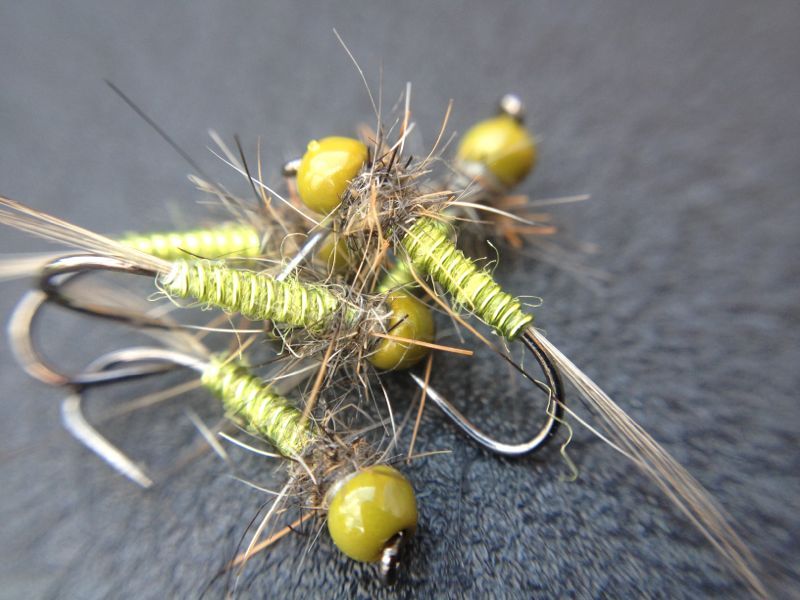
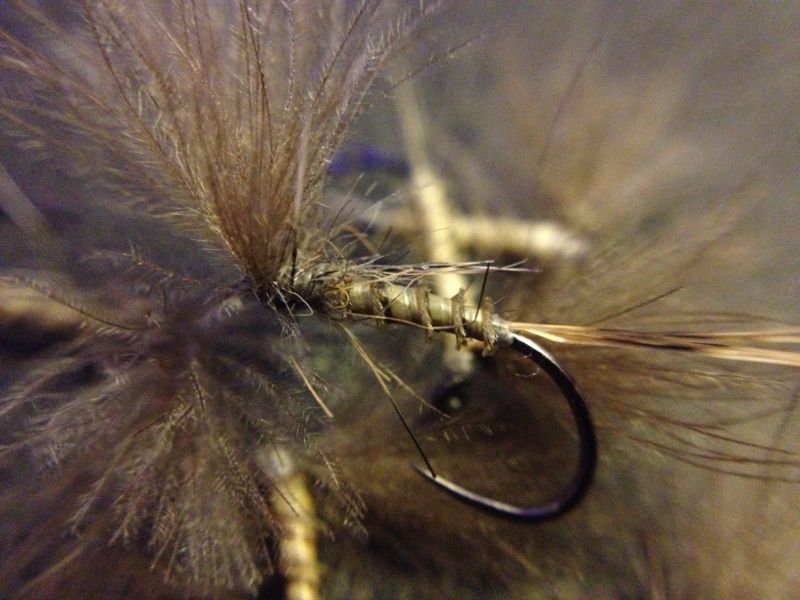
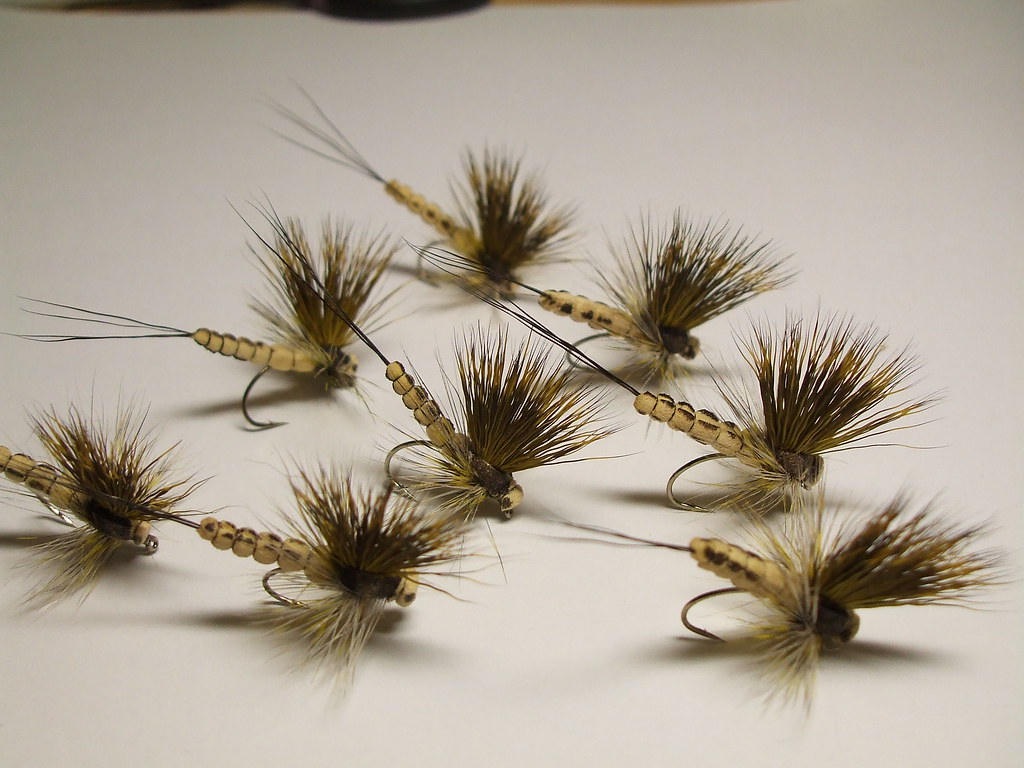
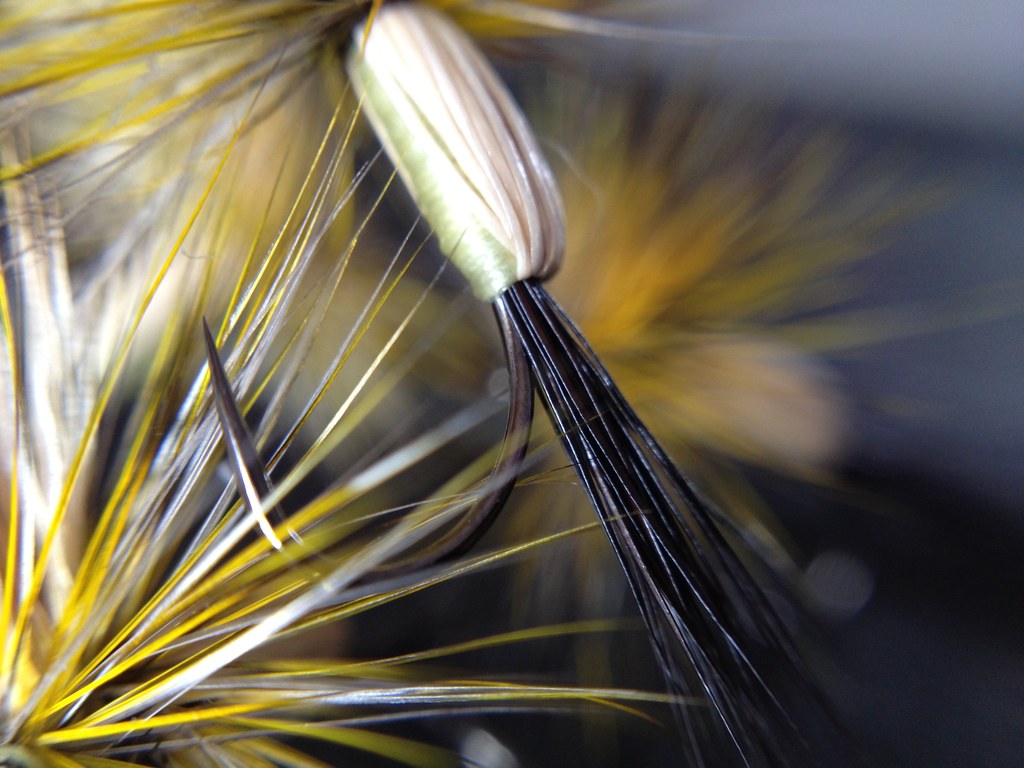
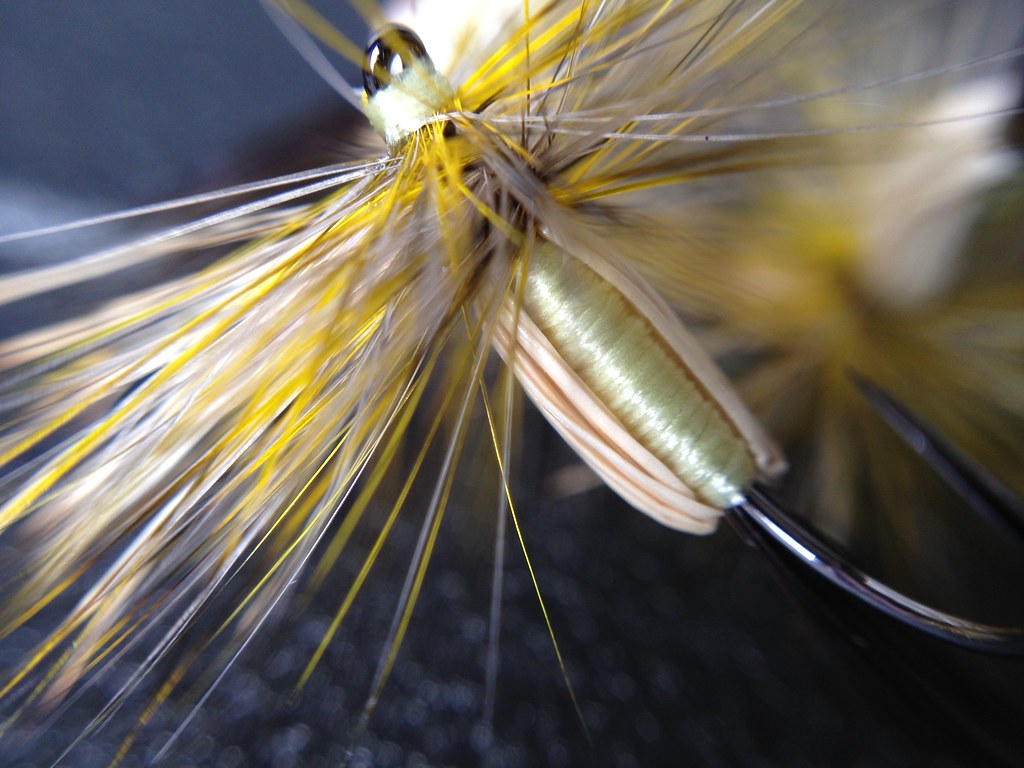
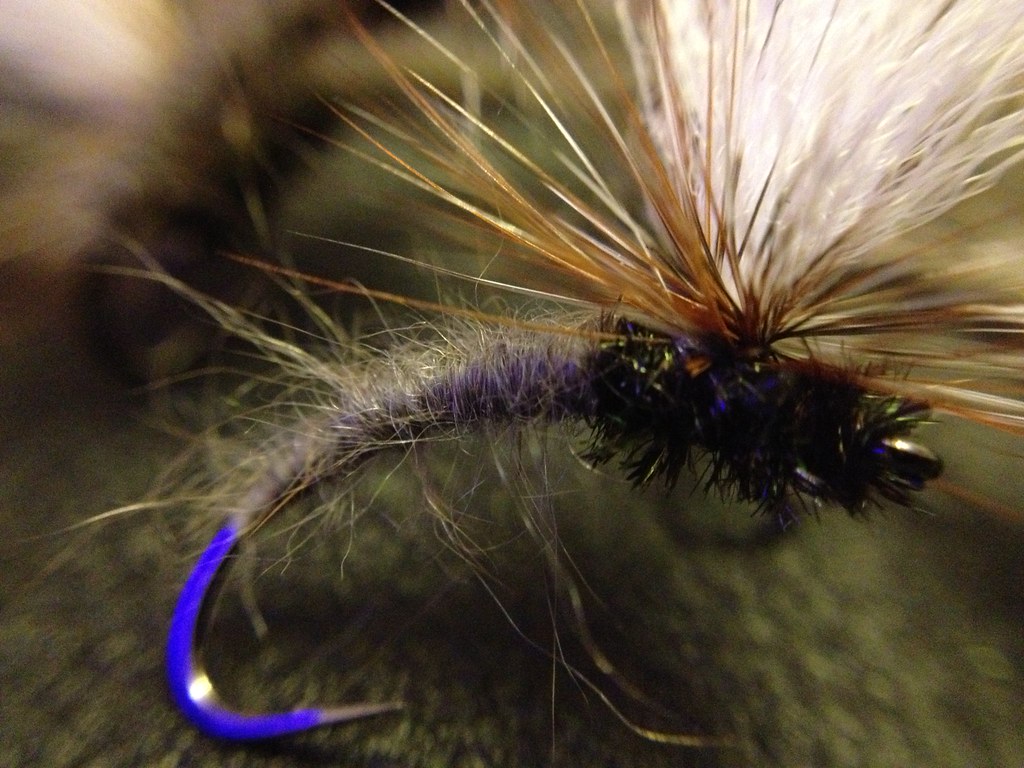
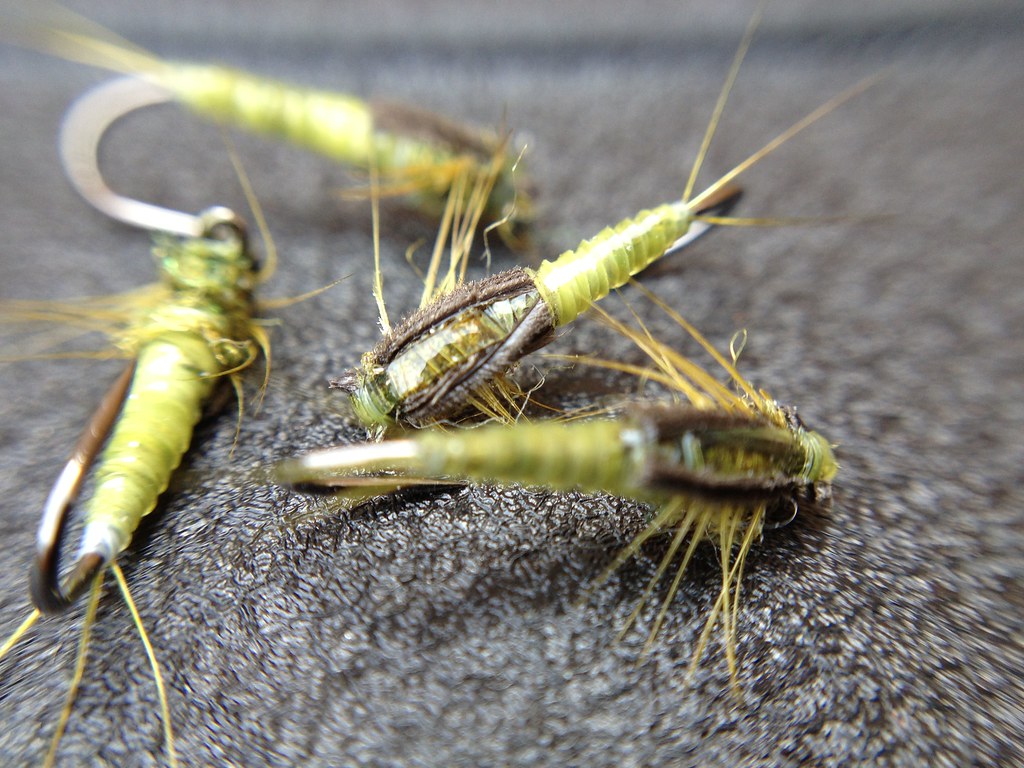
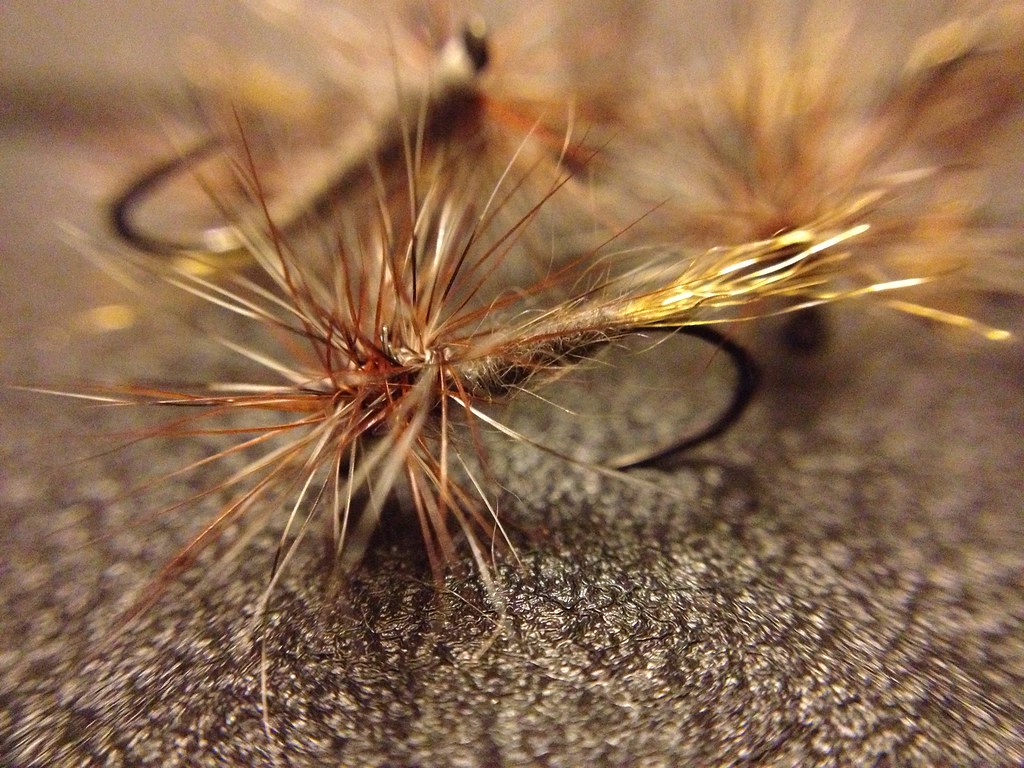
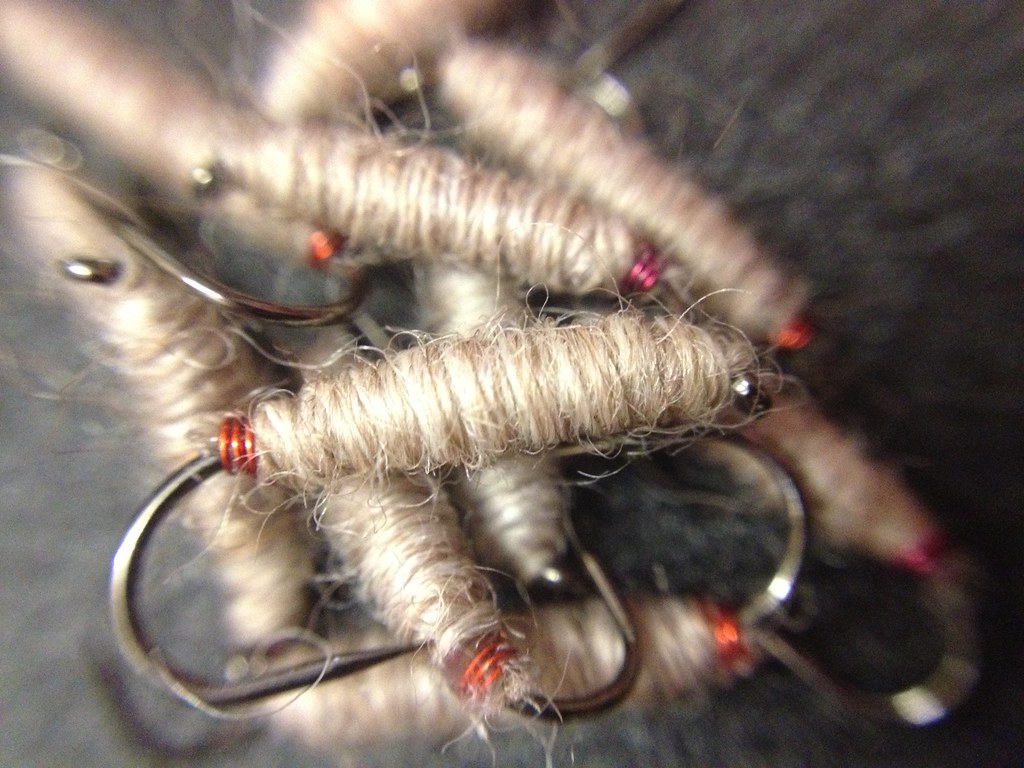
I tie this pattern in the traditional way, using just wire and wool. I use either red or wine coloured wire and start with a double layer of wire for the under body. Tie the wool in by itself and wrap two or three layers depending of hook size of which I use are sizes 12 and 14. Tie the wool off with the wire at the bend making a little hot-spot and super-glued for durability. When wet the flies darken up and the beige bugs look nice and translucent, much like a maggot it imitates.
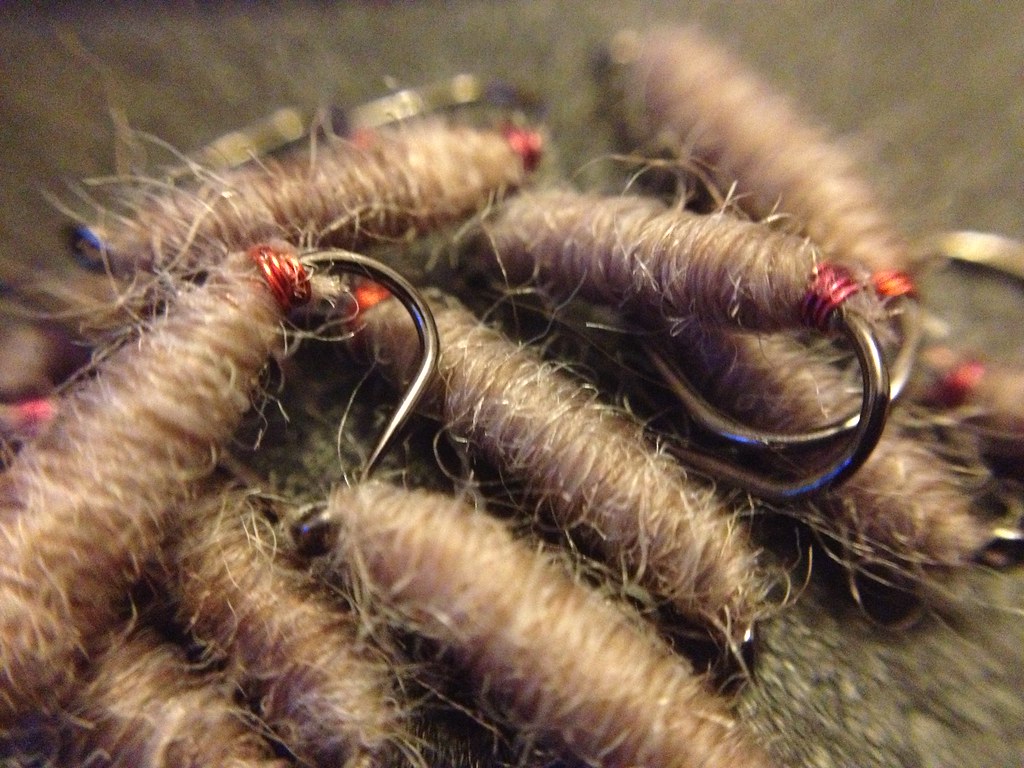 |
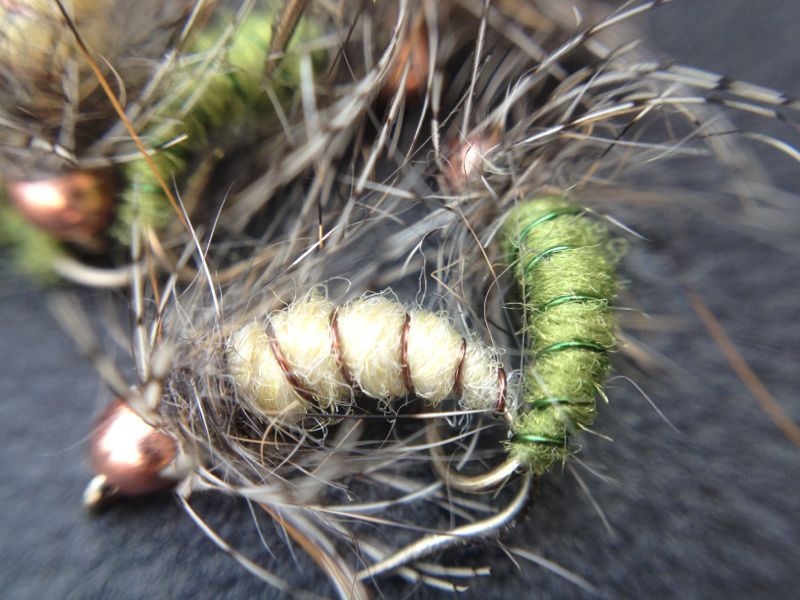
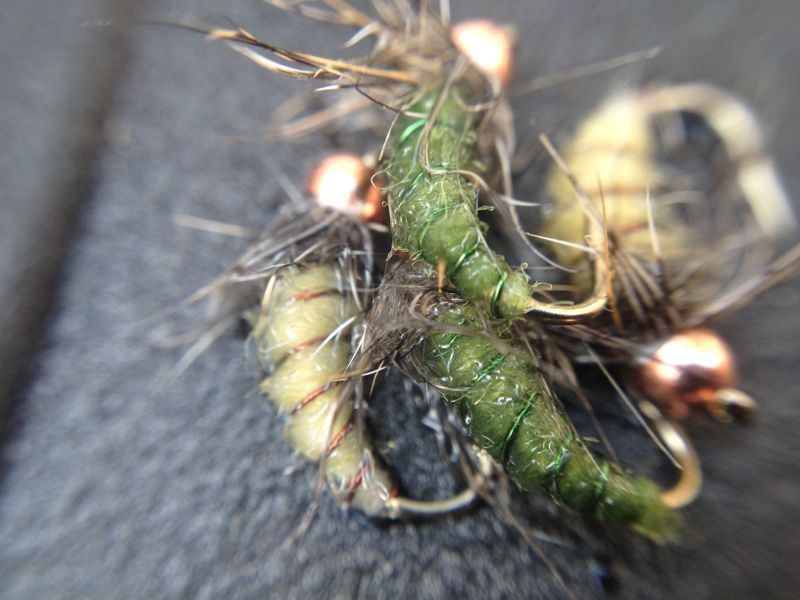
| Chadwicks 454 wet |
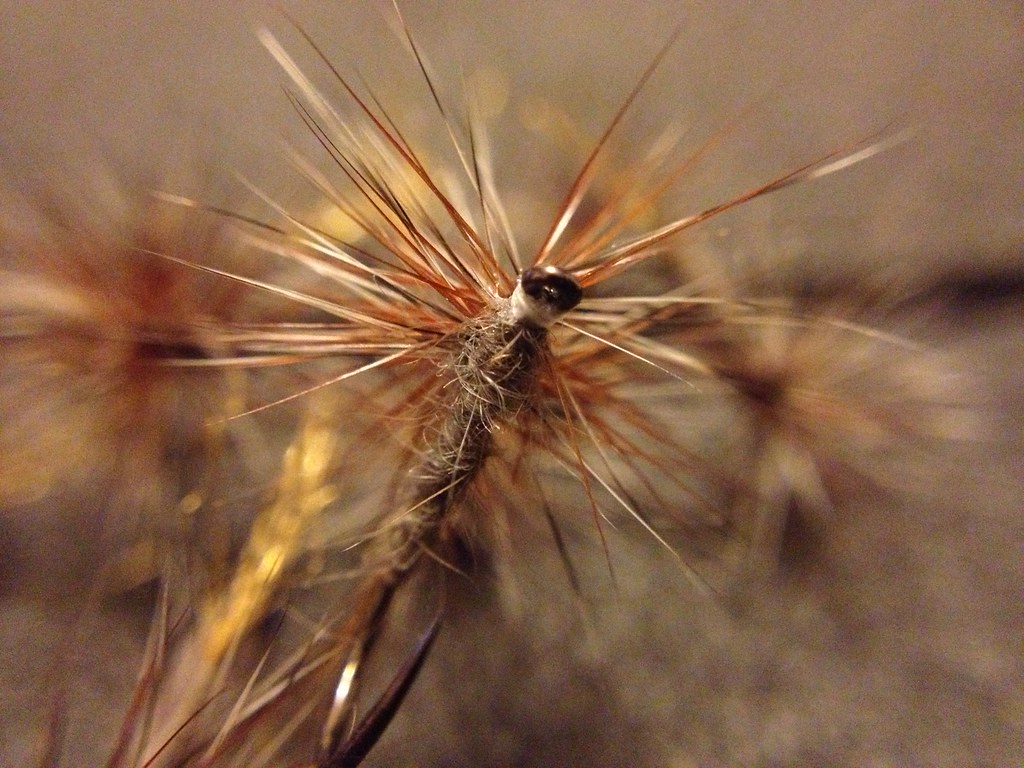
|
| Beige Chadwicks wet |
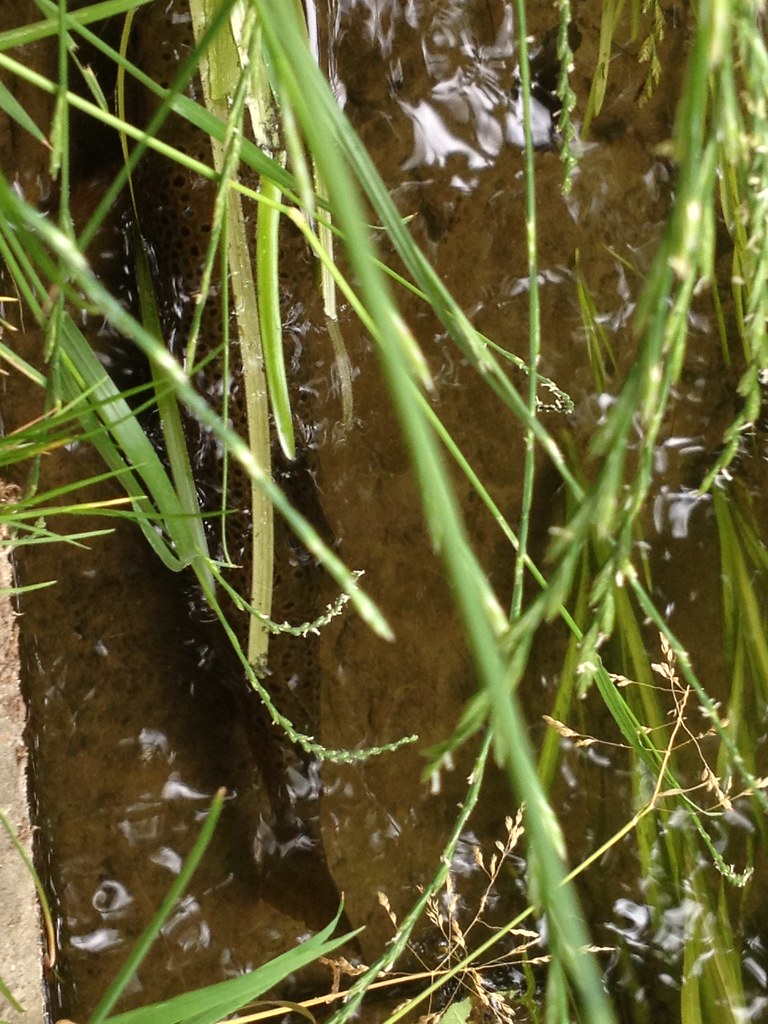
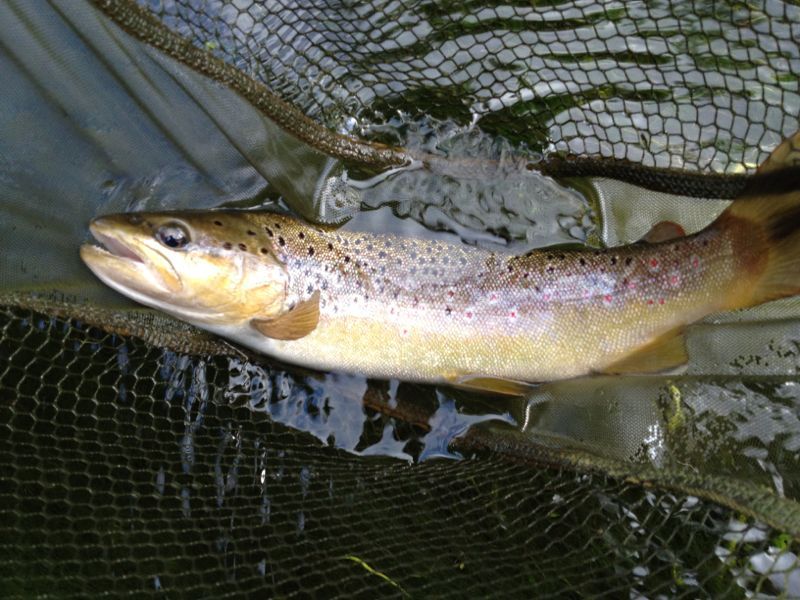
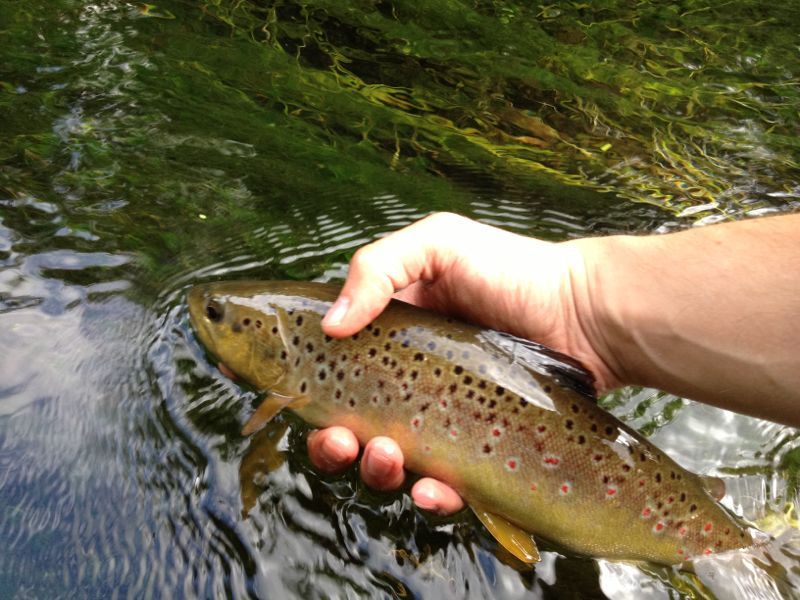
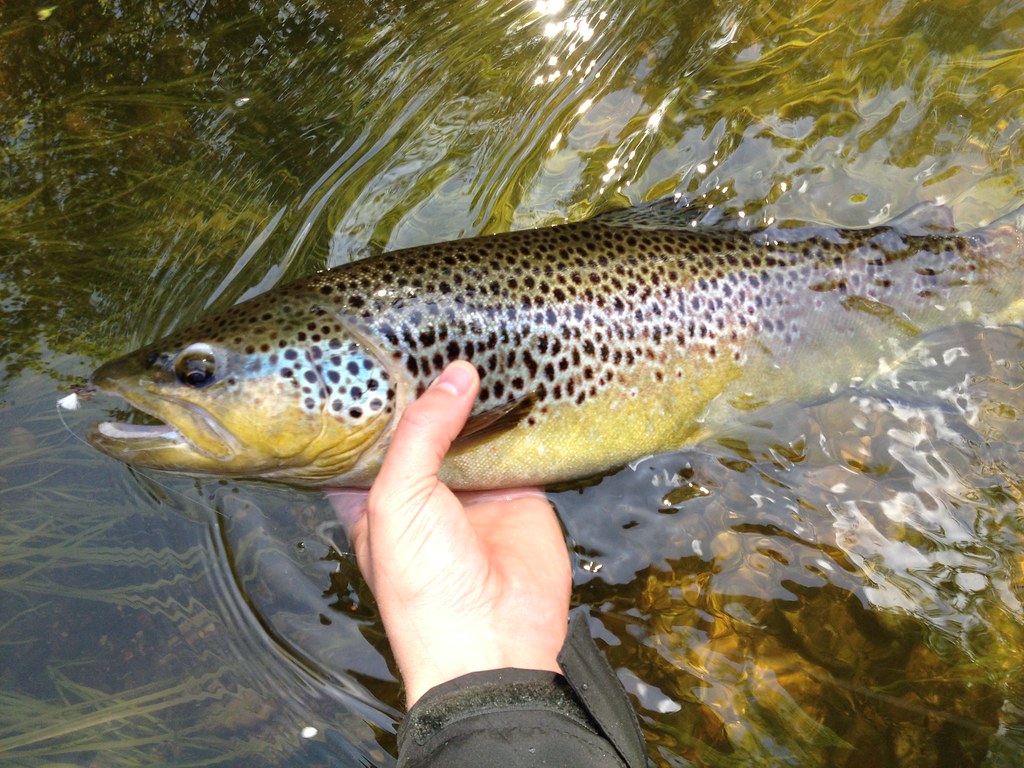
So are you wondering where this new-found love comes from; it simply comes from it catching my PB wild brown trout on a Sawyer's Killer bug.
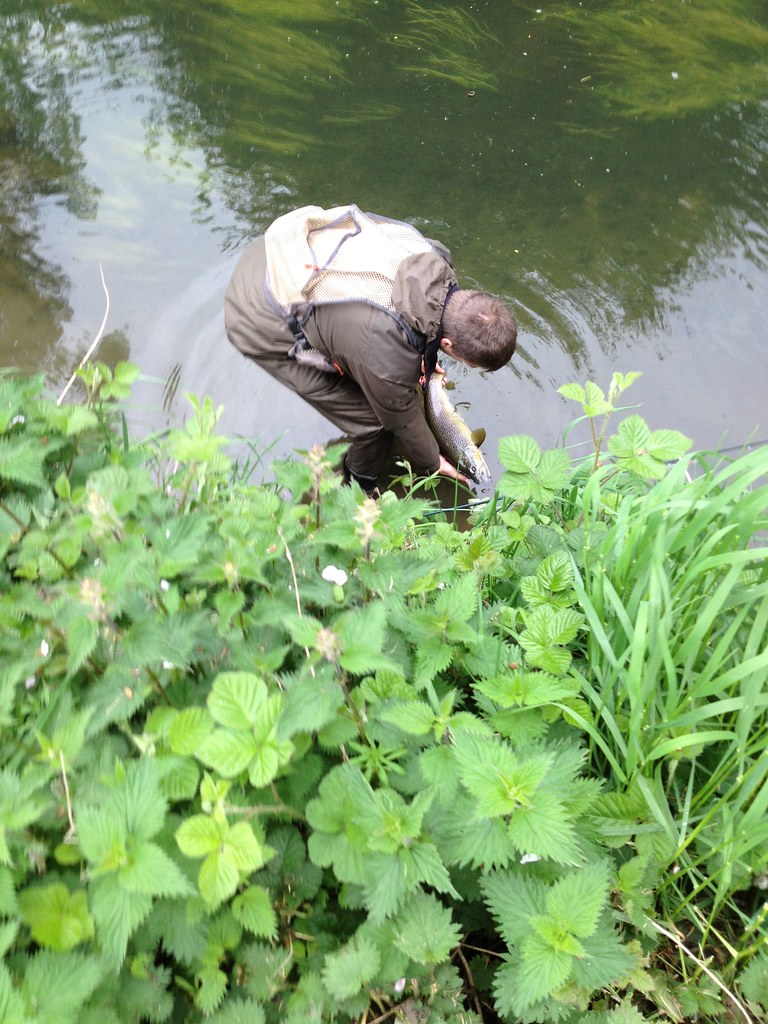
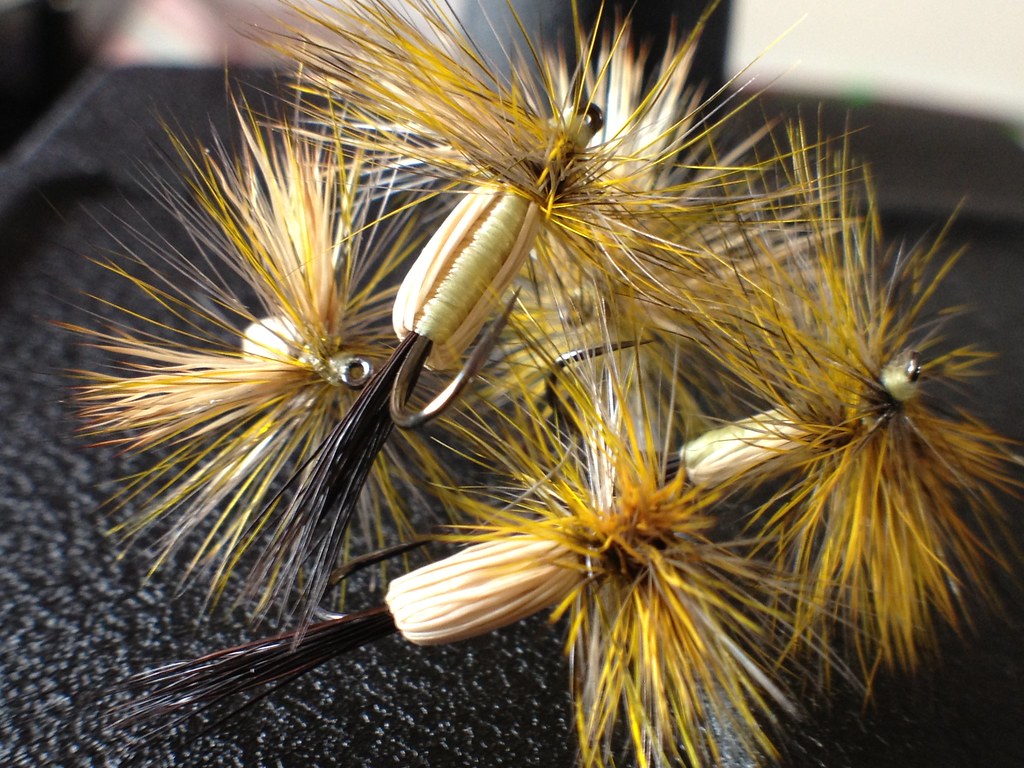
I found this fish milling about a small section; the river in question is an urban river. It flows along steep high banks which make fishing from the bank difficult to say the least along with this that water is clear, sluggish and relatively deep; wading fails miserably. Although these fish are well used to human traffic walking by, they are immediately suspicious if you stop to look. The trick is to walk along, spot a fish and keep walking, then back track whilst keeping very low. This still only really gives you one or two casts, after that forget it; move on and find another fish. So back to the fish I had spotted. I spent half an hour just watching this trout. It mostly swam around in a circular route, it chased of any other trout that came within view but more importantly it rose occasionally taking Danica mayflies. Unfortunately for me I didn't have any mayfly patterns. The closest I came was some size 10 Yellow Humpy's tied with grizzle and brown hackles.
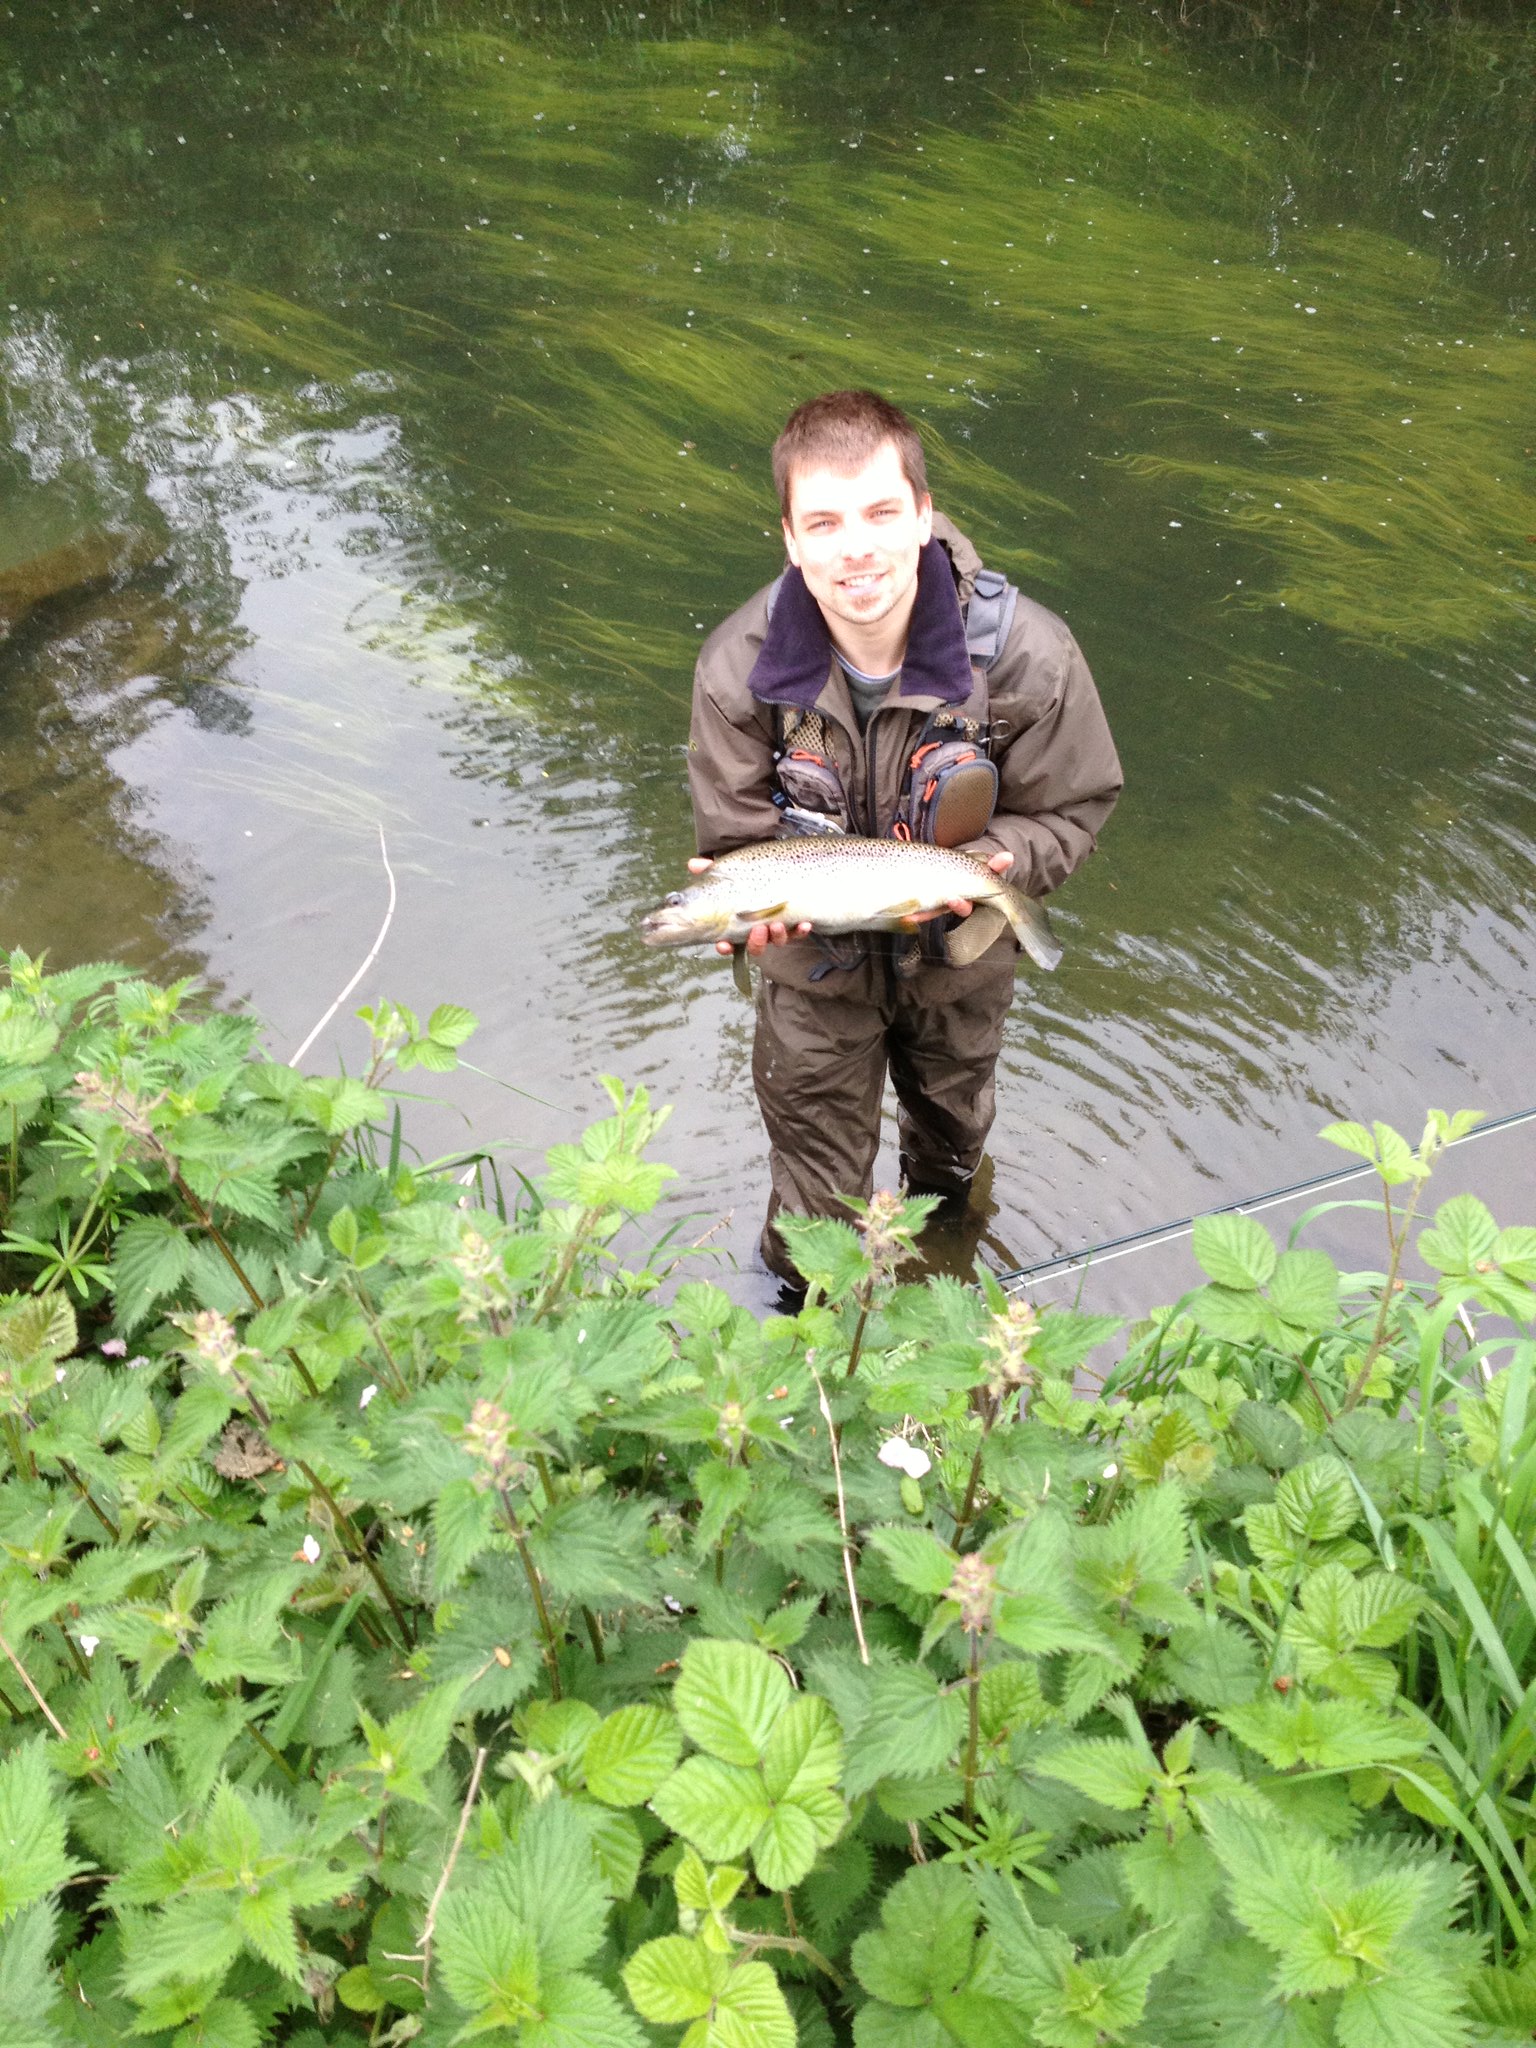
I tried this fish about three or four times with the Humpy, it ignored it except for once when it did swim underneath, rising up to inspect it, but failing to take. I then tried with a smaller fly, the PHD, this was completely ignored. This left me in a quandary, I have never had this many chances at a trout like this on this section, least of all a big trout. So I scrapped the dry flies. I opened the nymph box; I felt I had a problem, most of my nymphs are size 16 or smaller and because I had only been tying flies for a couple of months, the inventory was small. I felt I needed something substantial, meaty, to tempt this fish; and there they were, Sawyer's Killer bugs. I chose a size 14, a big enough morsel without being to large to attract suspicion. Before I cast out the Killer bug I gave this fish some more time. Never before in my fishing career have I ever devoted so much time to one fish, more amazingly I didn't spook this fish either. It took a couple of attempts before the fly landed and drifted down to the fish perfectly. As the fly reached the trout it was at the same depth, the trout did nothing but open its mouth and inhale; all of this was about ten feet in front of me. A quick lift set the hook. The fish was very dogged, it used it weight to stay down deep in the water. It didn't produce any long powerful runs, with the river being relatively deep and sluggish it just bored deep in to the weeds. It fought for a good five minutes, luckily for me a passer-by took some pictures; not perfect but I'm so pleased to have this fish on film. I feel this season has been the turning point for me, I have become more relaxed and methodical in my fishing and the result is this fish.